
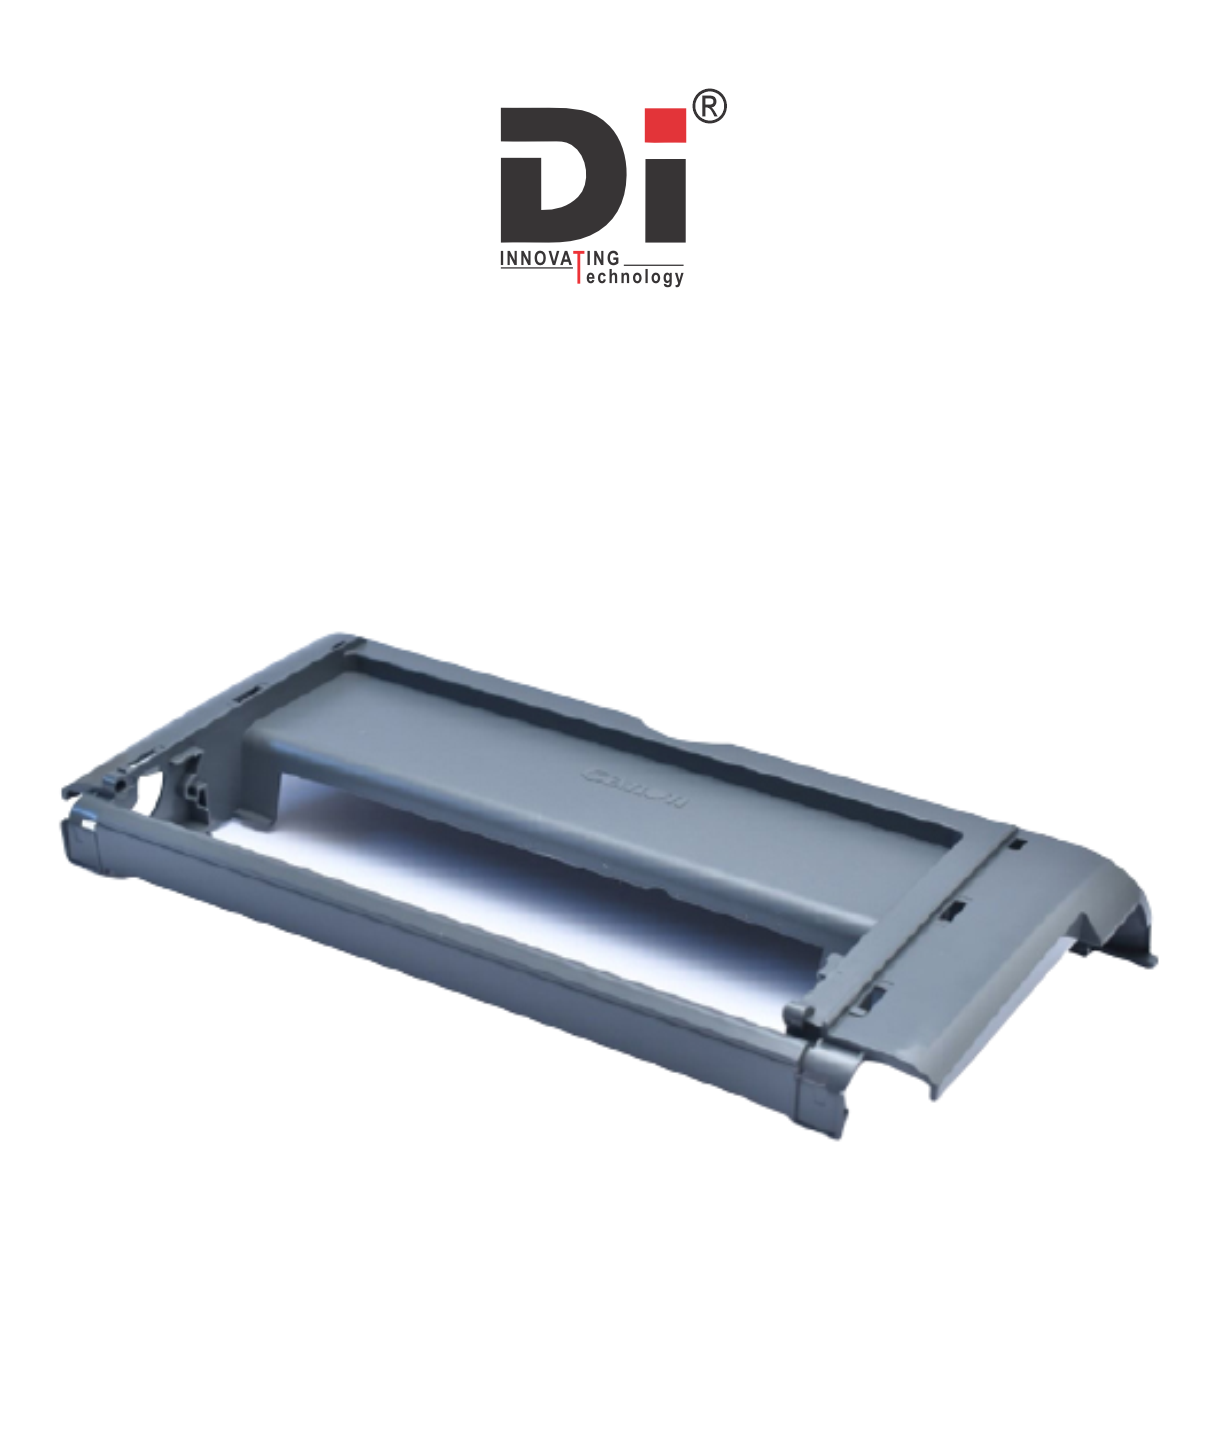
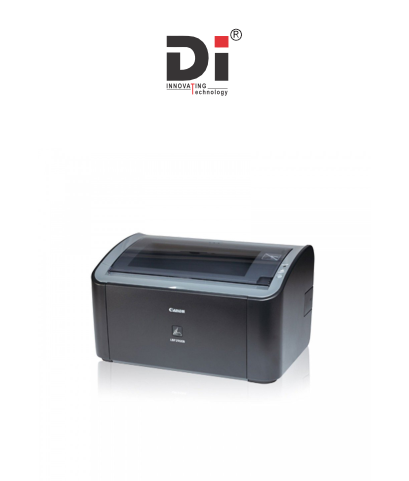
Di FRONT DOOR COVER FOR LBP2900

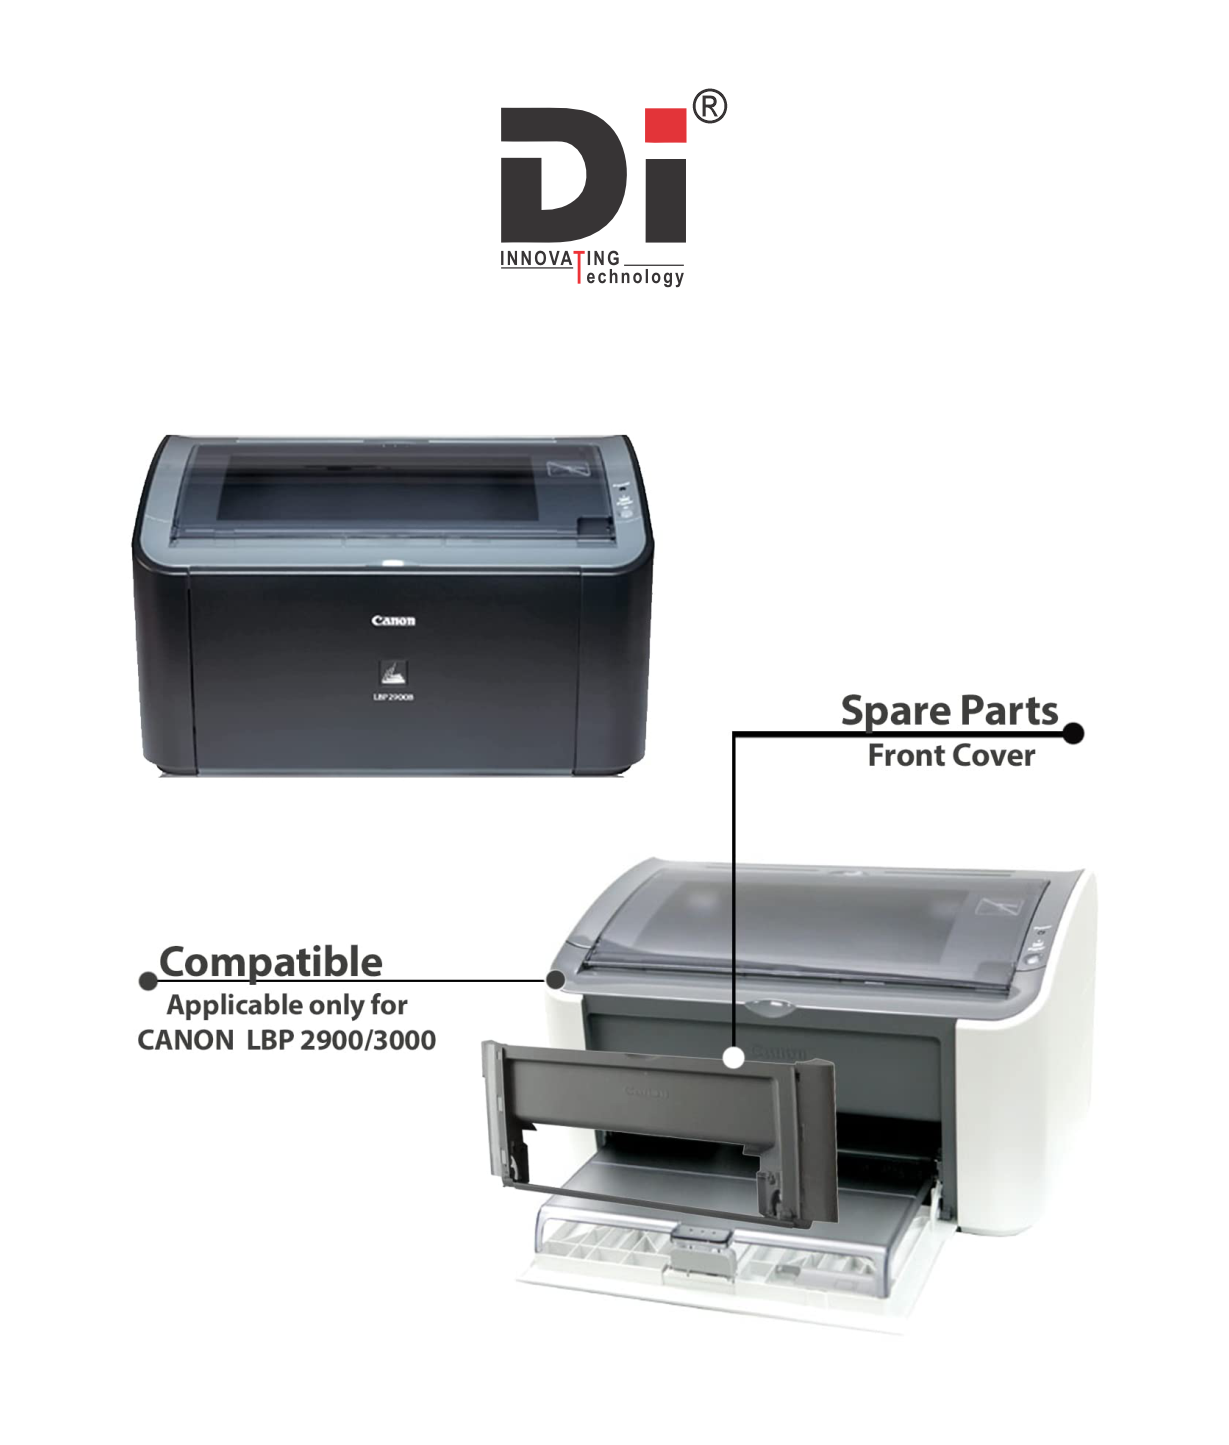
The front door cover for the Canon LBP2900 printer refers to the cover or door that provides access to the toner cartridge and other internal components of the printer. It is essential for the printer's operation as it allows users to replace toner cartridges, clear paper jams, and perform maintenance.
If you need to replace the front door cover of the Canon LBP2900, here's some useful information:
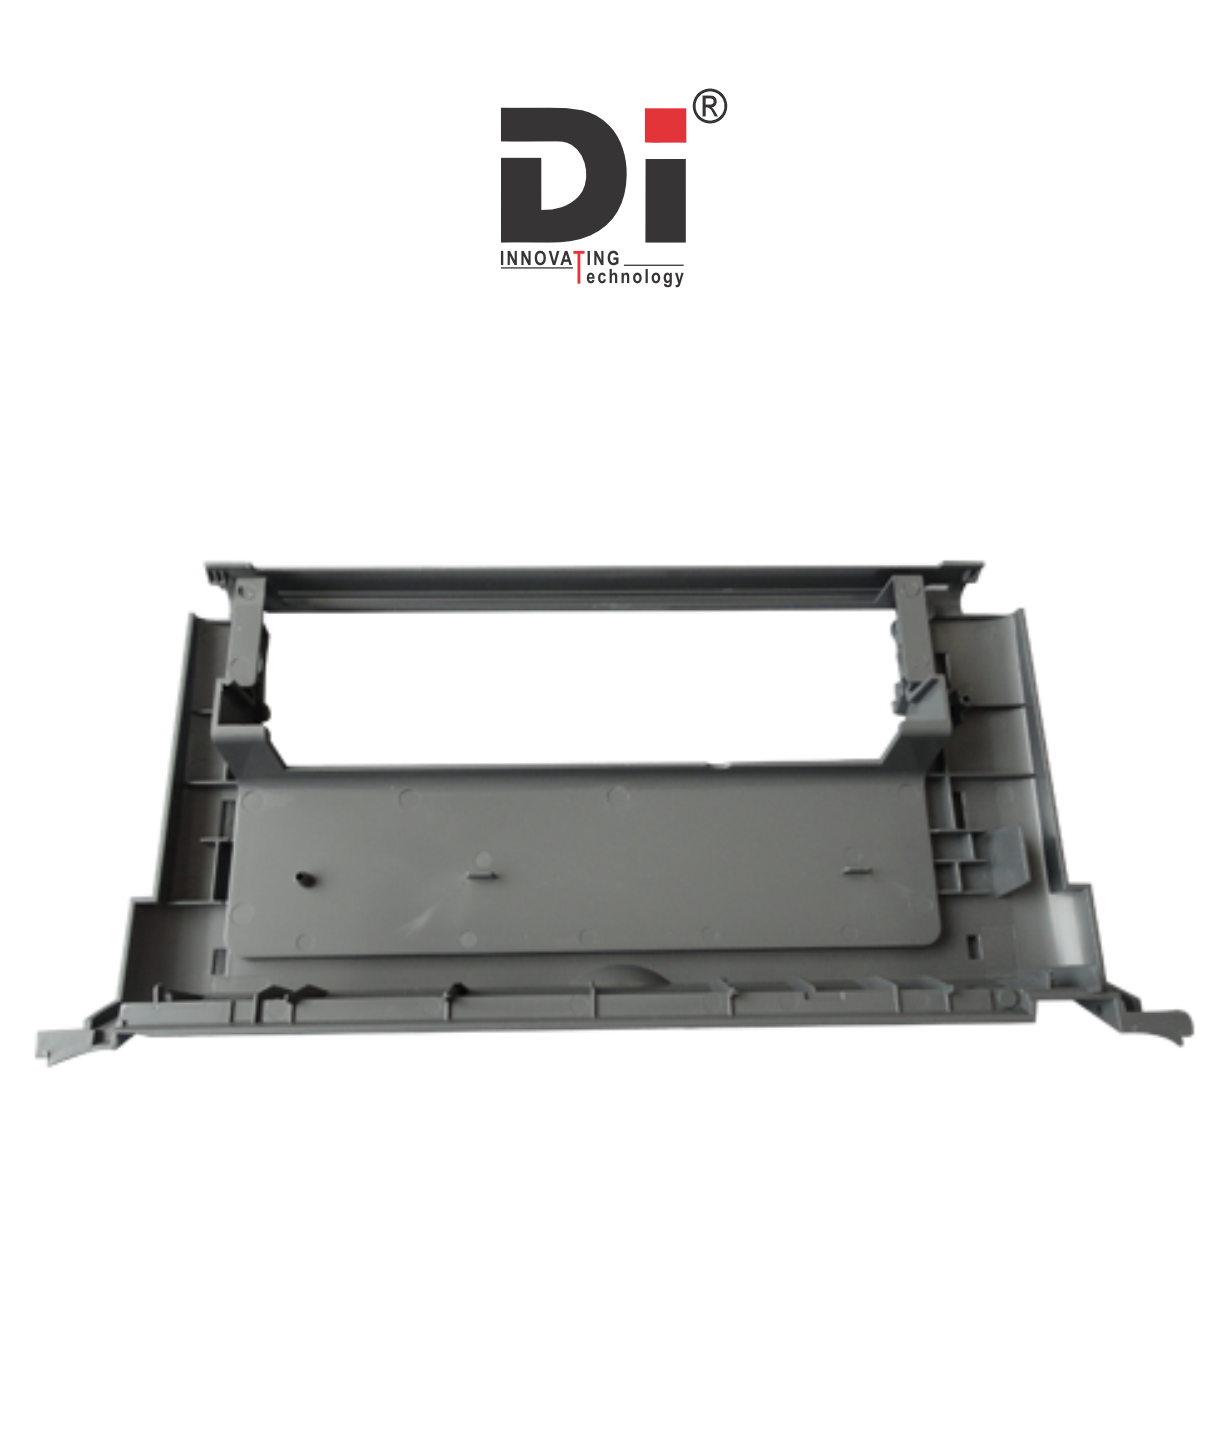
Purpose of the Front Door Cover:
- Access: The front door gives you easy access to the toner cartridge and helps you resolve issues like paper jams.
- Protection: It helps protect the internal components of the printer from dust and debris.
- User Interaction: The door is typically where users interact with the printer when replacing the toner or clearing errors.
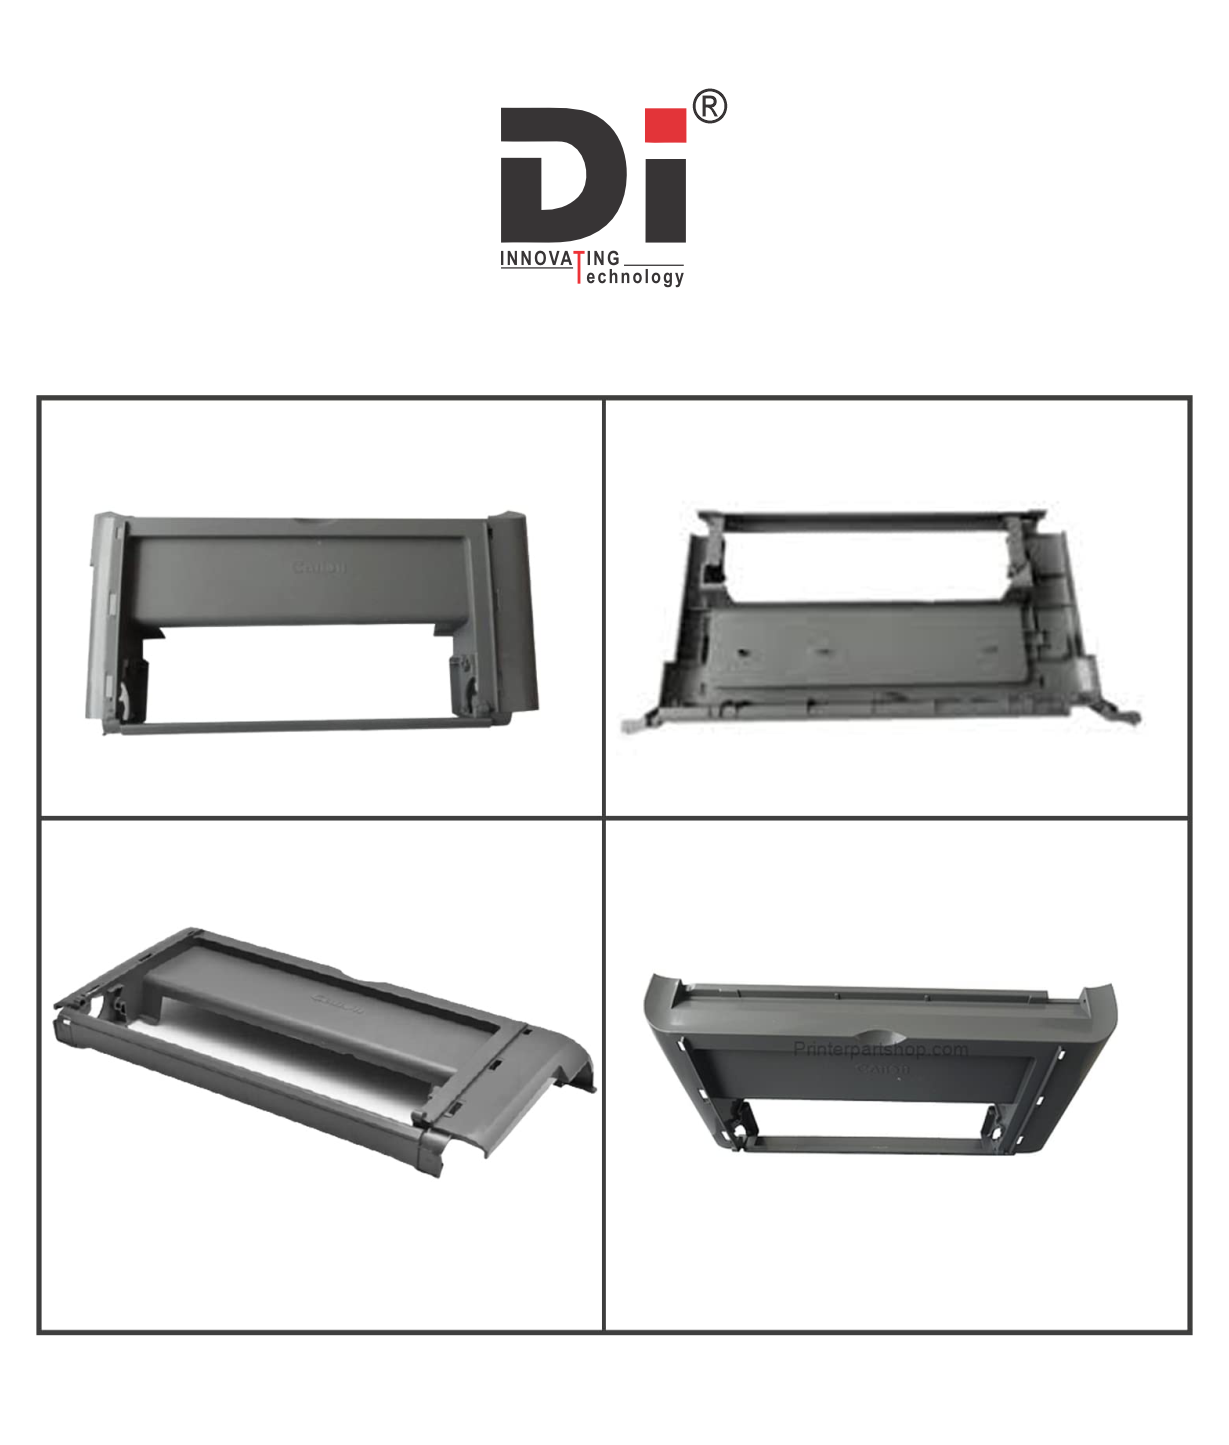
Symptoms of a Damaged Front Door Cover:
If the front door cover is broken or damaged, you may encounter issues like:
- Inability to Replace Toner: If the door doesn't close or latch properly, you may not be able to replace the toner cartridge.
- Unstable Printer Operation: A broken or loose door might cause the printer to malfunction or not operate correctly.
- Exposed Internal Components: A damaged front door might expose the internal parts to dirt or damage.
Replacing the Front Door Cover for Canon LBP2900:
If you need to replace the front door cover of your Canon LBP2900, you can follow these steps:
Turn Off the Printer: Always ensure the printer is powered off and unplugged before attempting to replace any components.
Remove the Toner Cartridge: Carefully remove the toner cartridge to avoid any toner spillage and to gain full access to the front door cover.
Identify How the Front Door is Secured: The front door of the Canon LBP2900 is typically secured by clips or screws. You will need to check for screws or latches that hold the cover in place.
Remove the Damaged Front Door: Gently detach the door from its mounting. If it is screwed in, use a screwdriver to remove the screws. If it is clipped, carefully unclip it.
Install the New Front Door: Once the old door is removed, align the new front door cover with the appropriate mount points. Secure it either by snapping it into place or using screws if required.
Reinstall the Toner Cartridge: Once the new cover is in place, reinstall the toner cartridge to complete the replacement.
Test the Printer: Turn the printer back on to ensure the front door functions properly and the printer operates as expected.


Add A Review
Your email address will not be published. Required fields are marked
Your Rating *
You need to Login OR Register