

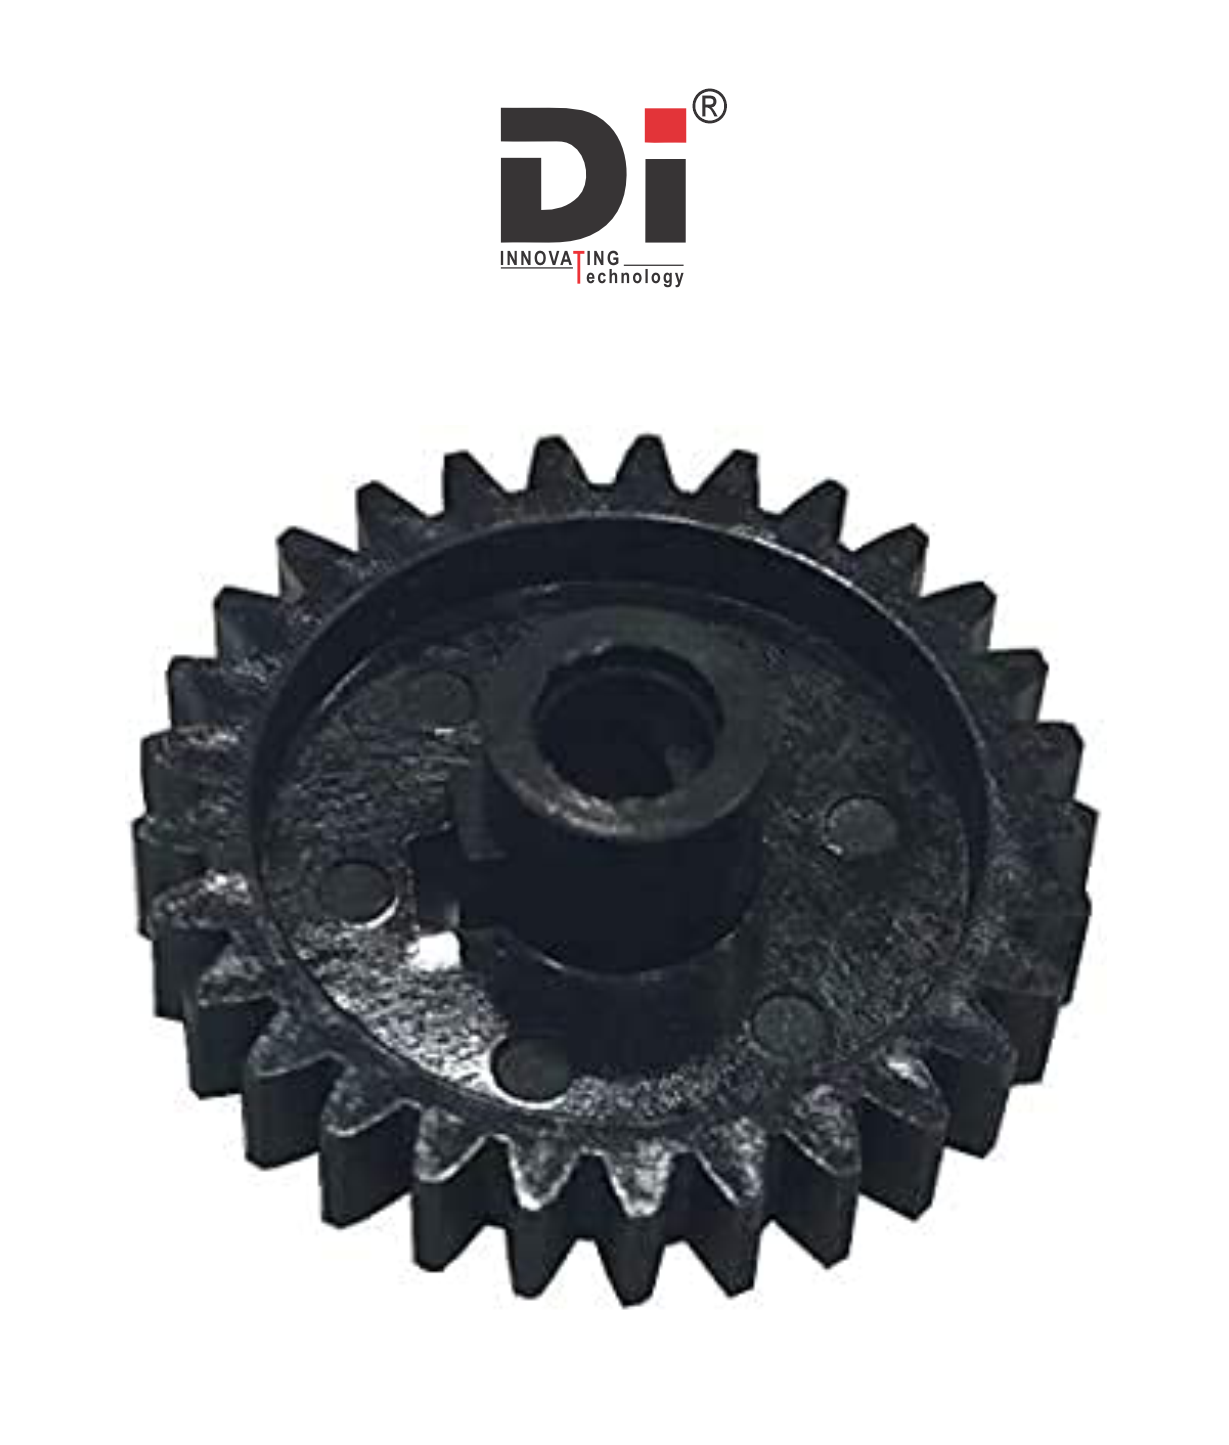

The lower roller gear for the HP LaserJet 1020 is an important component in the printer's paper feed mechanism. This gear helps to engage the rollers that move paper through the printer during the printing process. If the gear is damaged or worn, it can result in paper feeding issues such as jams, misfeeds, or multiple sheets feeding at once.
Purpose of the Lower Roller Gear in HP LaserJet 1020:
- Paper Movement: The gear is responsible for driving the lower roller assembly, which is involved in pulling the paper from the tray into the printer.
- Smooth Operation: It ensures that the paper moves smoothly and consistently through the printer, preventing jams and misfeeds.
Common Symptoms of a Faulty Lower Roller Gear:
If the lower roller gear is worn or broken, you might notice:
- Paper Jams: Paper might get stuck in the printer due to improper movement through the feed system.
- Misfeeds: The printer may pull multiple sheets of paper at once, or it may fail to pick up paper entirely.
- Grinding Noises: A malfunctioning gear may cause a grinding or clicking noise during printing, indicating that it's not engaging properly.
Replacing the Lower Roller Gear for HP LaserJet 1020:
To replace the lower roller gear in an HP LaserJet 1020 printer, follow these general steps:
Turn Off the Printer: Always power off and unplug the printer to ensure safety while working on it.
Remove the Printer's Outer Cover: You will need to access the interior of the printer. Typically, this involves removing screws and detaching the outer casing of the printer.
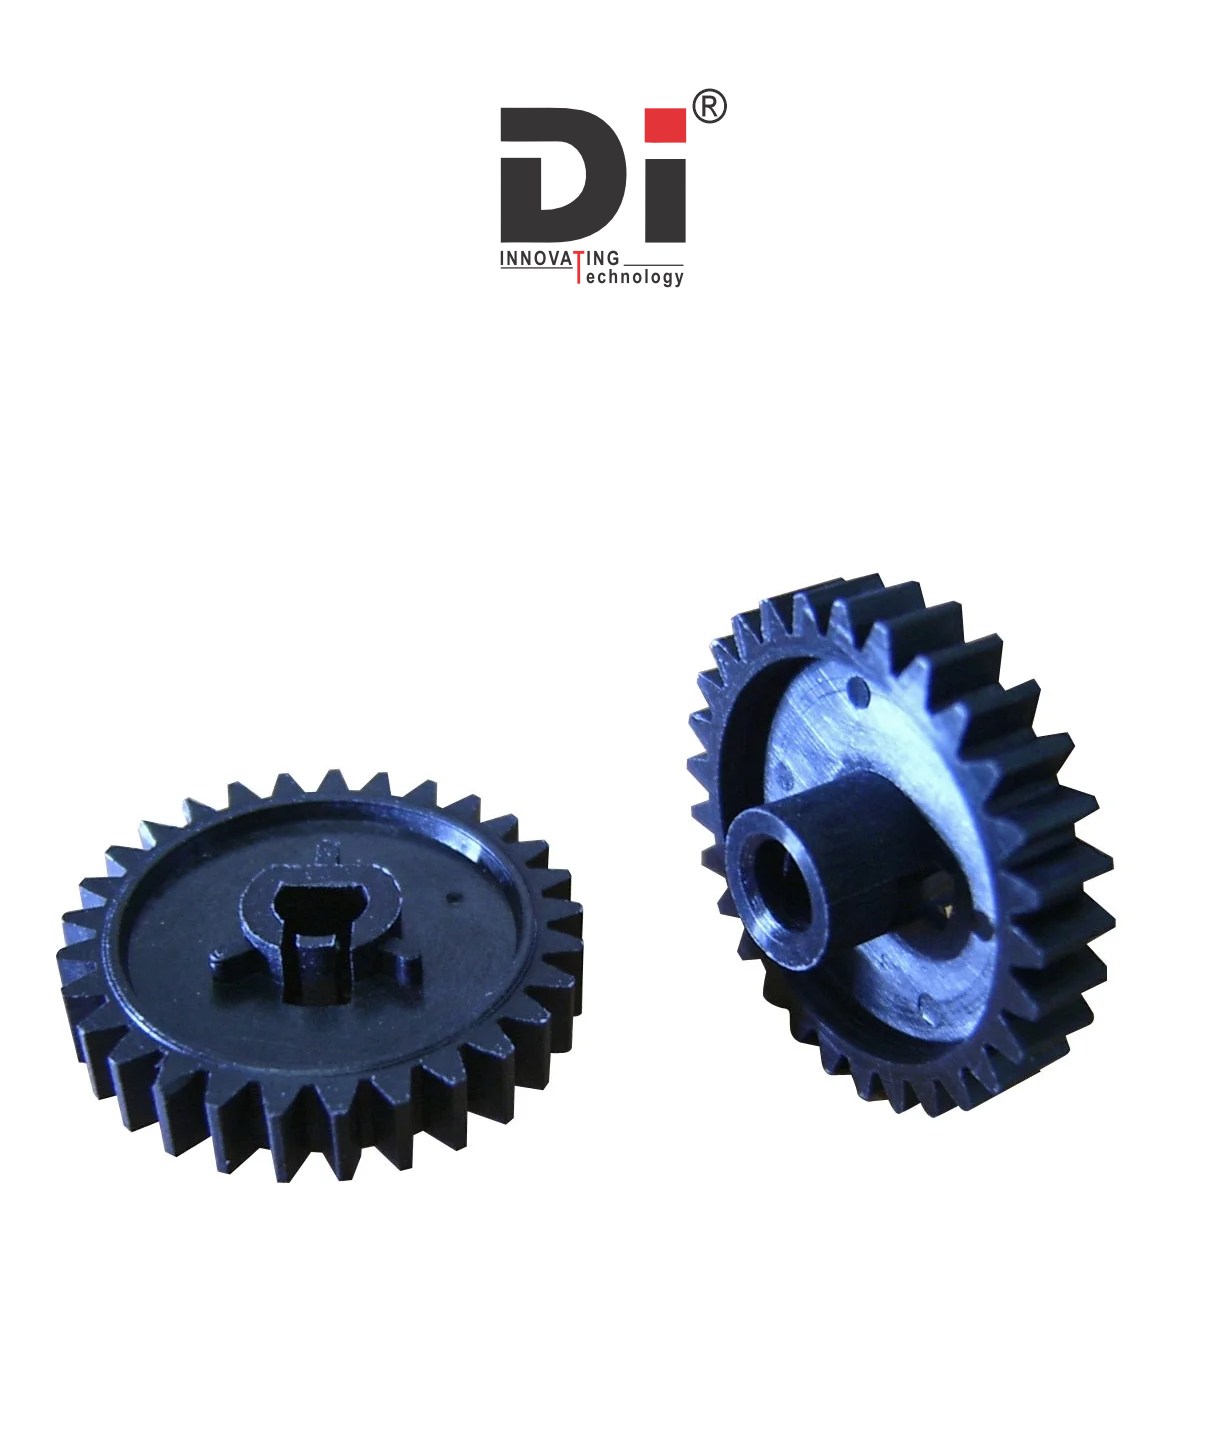
Locate the Lower Roller Gear: The gear is typically located near the paper tray and paper feed mechanism, where it interacts with the lower roller. This may involve removing other components, such as the toner cartridge or the upper portion of the printer, to access the gear assembly.
Remove the Damaged Gear: Depending on how the gear is secured, you may need to unscrew it or simply unclip it. Take care to remember the order and placement of any components you remove to make reassembly easier.
Install the New Lower Roller Gear: Carefully install the new gear, ensuring it meshes correctly with the other gears and rollers in the feed system.
Reassemble the Printer: Once the new gear is in place, reassemble the printer by securing any removed parts and closing the cover.
Test the Printer: After reassembling, plug the printer back in and test it by printing a few pages to ensure the paper feeds correctly and there are no further issues.
.png)


Add A Review
Your email address will not be published. Required fields are marked
Your Rating *
You need to Login OR Register