Di Display Cable 1005

Login to View Price (Incl. GST)
dislable
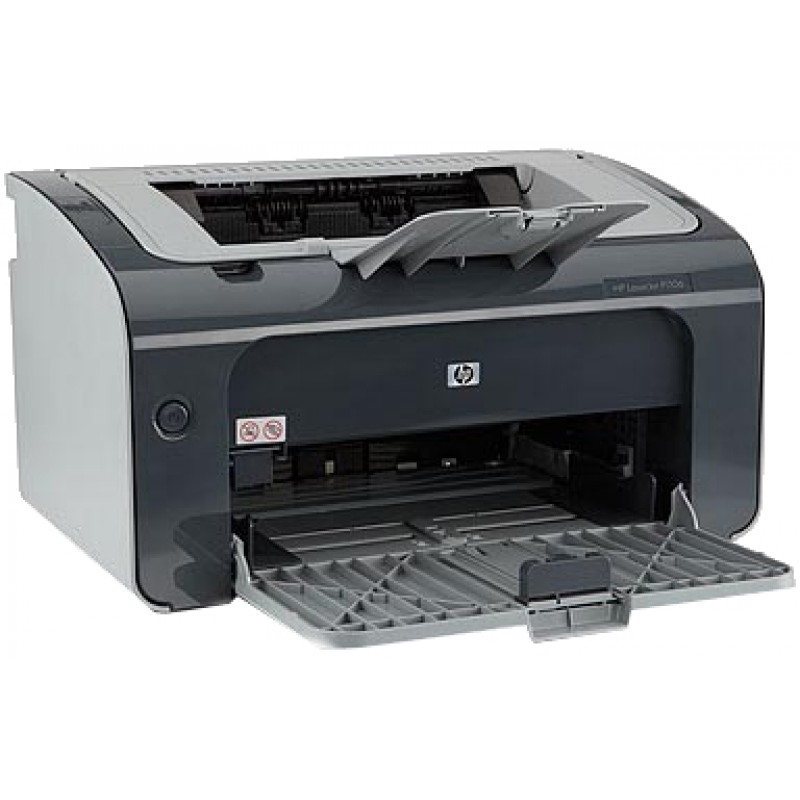
  1. The display cable in an HP LaserJet 1005 printer is part of the printer's internal wiring that connects the printer's control panel (display) to the printer's main circuit board. This cable allows communication between the control panel (which displays status information like error messages or print progress) and the printer's internal electronics.

Product ID:

Purpose of the Display Cable:

  • Communication: The display cable transmits signals from the printer's motherboard to the control panel, allowing the user to see printer status, error messages, and other feedback on the screen.
  • Display Functionality: This cable ensures that the printer's display is functional, providing the user with an interface for operation and troubleshooting.

Symptoms of a Faulty Display Cable:

If the display cable is damaged or disconnected, you might encounter issues such as:

  • Blank Display: The control panel might not show any information, leaving the printer seemingly unresponsive.
  • Unresponsive Control Panel: Buttons or other controls might not work if the cable is faulty.
  • Intermittent Display: The display might flicker or go in and out, indicating a loose or damaged connection.

Replacing the Display Cable:

If you suspect the display cable is faulty, here's how to replace it:

  1. Turn off the Printer: Unplug the HP LaserJet 1005 to avoid electrical shock or damage.
  2. Access the Control Panel: You may need to remove the printer's top cover or front panel to access the display and its connecting cable.
  3. Locate the Display Cable: The display cable typically connects from the main circuit board to the control panel at the front of the printer.
  4. Disconnect the Cable: Carefully disconnect the old cable from both the motherboard and the display panel.
  5. Install the New Cable: Purchase a replacement display cable compatible with the HP LaserJet 1005. Connect the new cable to both the control panel and the motherboard.
  6. Reassemble the Printer: Once the cable is securely connected, reassemble any parts of the printer you removed and plug it back in.
  7. Test the Printer: Turn the printer on to ensure that the display works correctly.

Add A Review

Your email address will not be published. Required fields are marked

Your Rating *

You need to Login OR Register

Overall Ratting:- 0

Based on 0 Comments