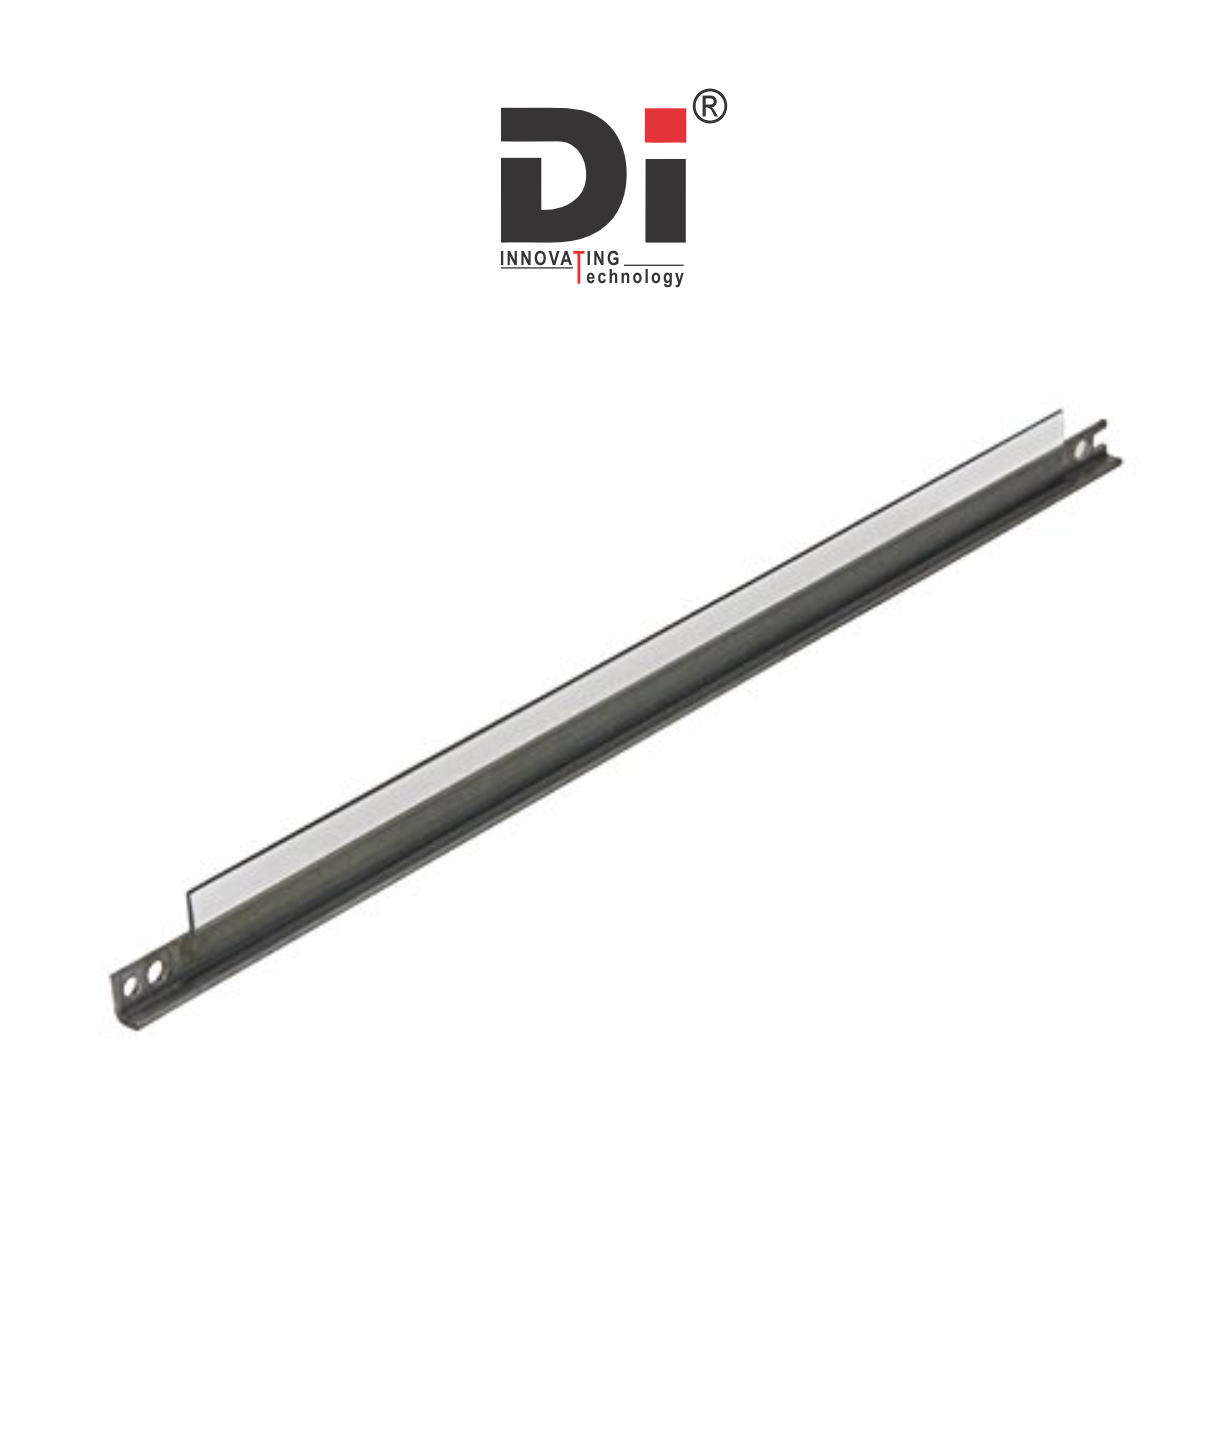
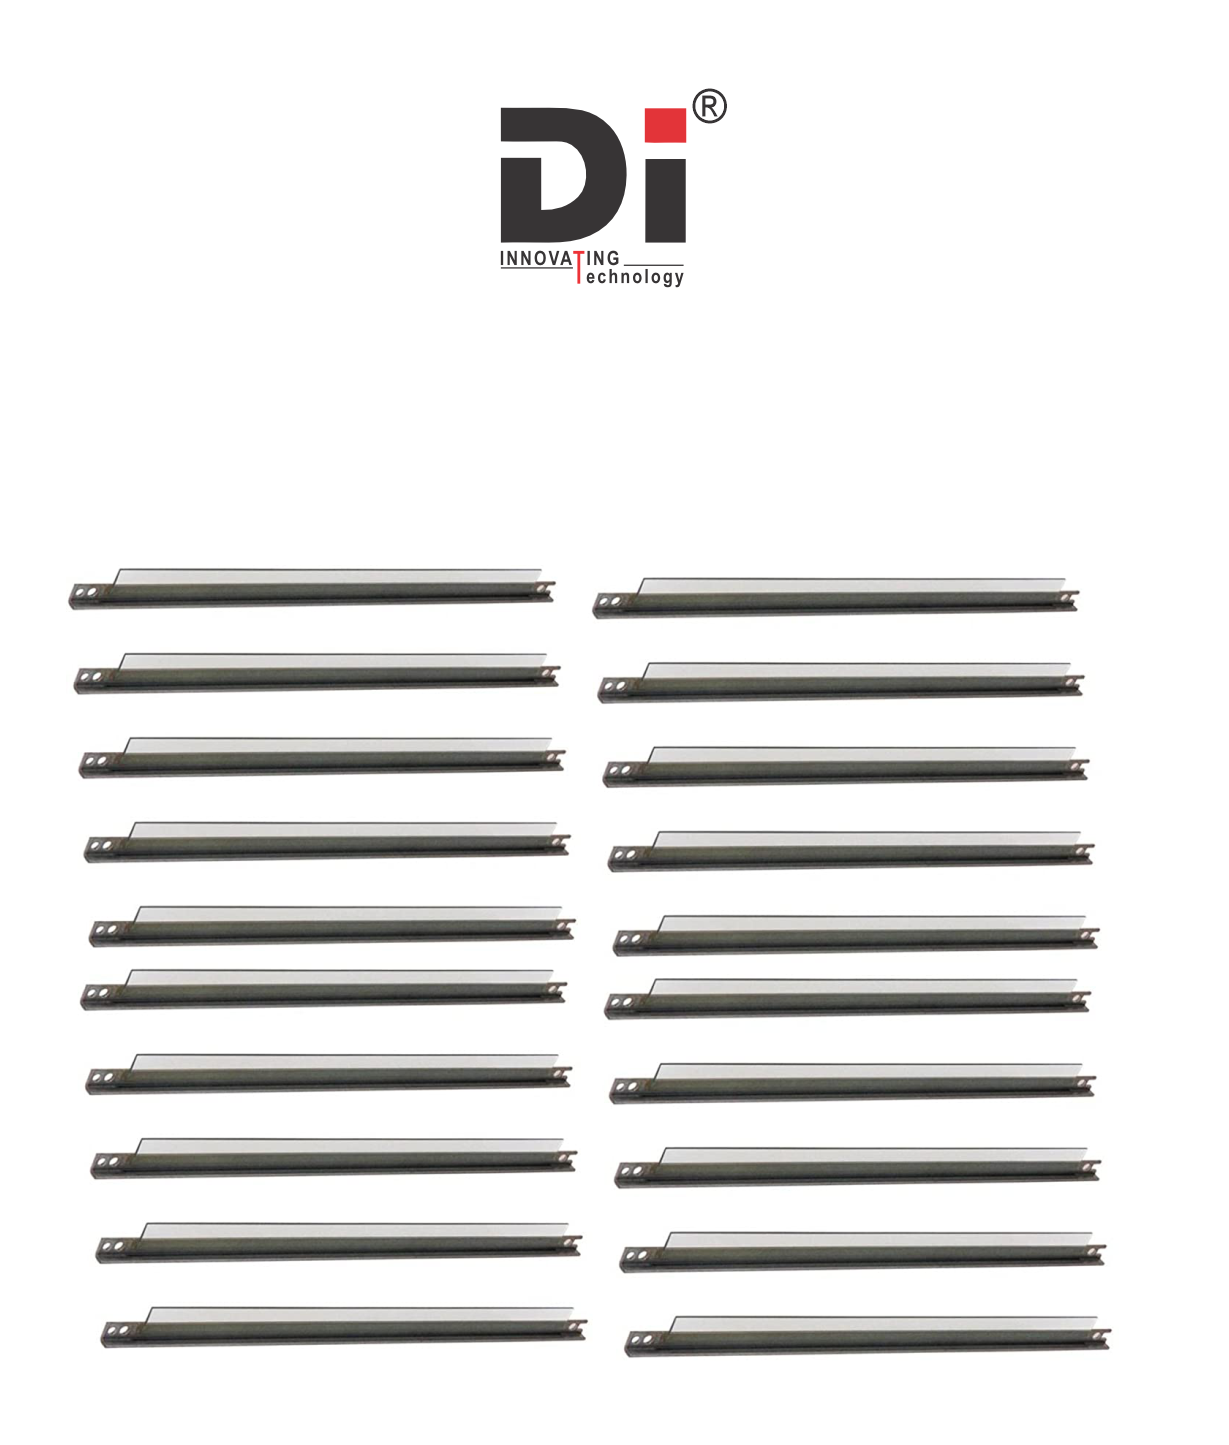
Di DOCTER BLADE 88A

Login to View Price (Incl. GST)
dislable

The doctor blade in a HP 88A toner cartridge (model CF288A) serves the same essential purpose as in other laser printer cartridges. It helps to evenly spread toner on the imaging drum during the printing process. The doctor blade ensures that only the right amount of toner is transferred from the cartridge to the drum, which is then used to form the printed image on paper

Product ID:

Purpose of the Doctor Blade:

  • Toner Scraping: The doctor blade scrapes the excess toner off the surface of the imaging drum after it has been transferred from the toner cartridge. This ensures that only the required amount of toner remains on the drum to produce clear prints.
  • Print Quality: By preventing excess toner buildup, the doctor blade helps maintain consistent print quality and prevents smudging or streaking on the printed page.

Symptoms of a Faulty Doctor Blade:

If the doctor blade in your HP 88A cartridge becomes damaged or worn out, you may notice:

  • Faded or Uneven Prints: Prints may appear lighter in certain areas or uneven in quality.
  • Toner Smearing: Excess toner may smear on the paper, or printouts may appear streaked.
  • Decreased Print Quality: Over time, the toner application might become inconsistent, leading to poor printouts.

Replacing the Doctor Blade for HP 88A Cartridge:

The doctor blade is typically part of the HP 88A toner cartridge assembly. In most cases, it is not practical to replace the doctor blade independently. If the doctor blade becomes worn, you would usually need to replace the entire HP 88A toner cartridge.

However, if you want to replace or maintain the doctor blade, here's how it might be done:

  1. Disassemble the Toner Cartridge: Carefully open up the toner cartridge by removing the outer casing. This should be done in a clean environment to avoid contamination.

  2. Locate the Doctor Blade: The doctor blade is a thin metal or plastic strip positioned near the drum unit inside the toner cartridge. You may need to carefully remove it from its place.

  3. Replace the Doctor Blade: If you have a replacement doctor blade, carefully install the new blade in place of the old one, ensuring it is properly aligned to avoid damage to the cartridge.

  4. Reassemble the Toner Cartridge: After replacing the doctor blade, reassemble the toner cartridge, ensuring all components are securely in place.

  5. Test the Printer: Once the cartridge is reassembled, install it back into the printer and run a test print to check if the print quality has improved.

Add A Review

Your email address will not be published. Required fields are marked

Your Rating *

You need to Login OR Register

Overall Ratting:- 0

Based on 0 Comments