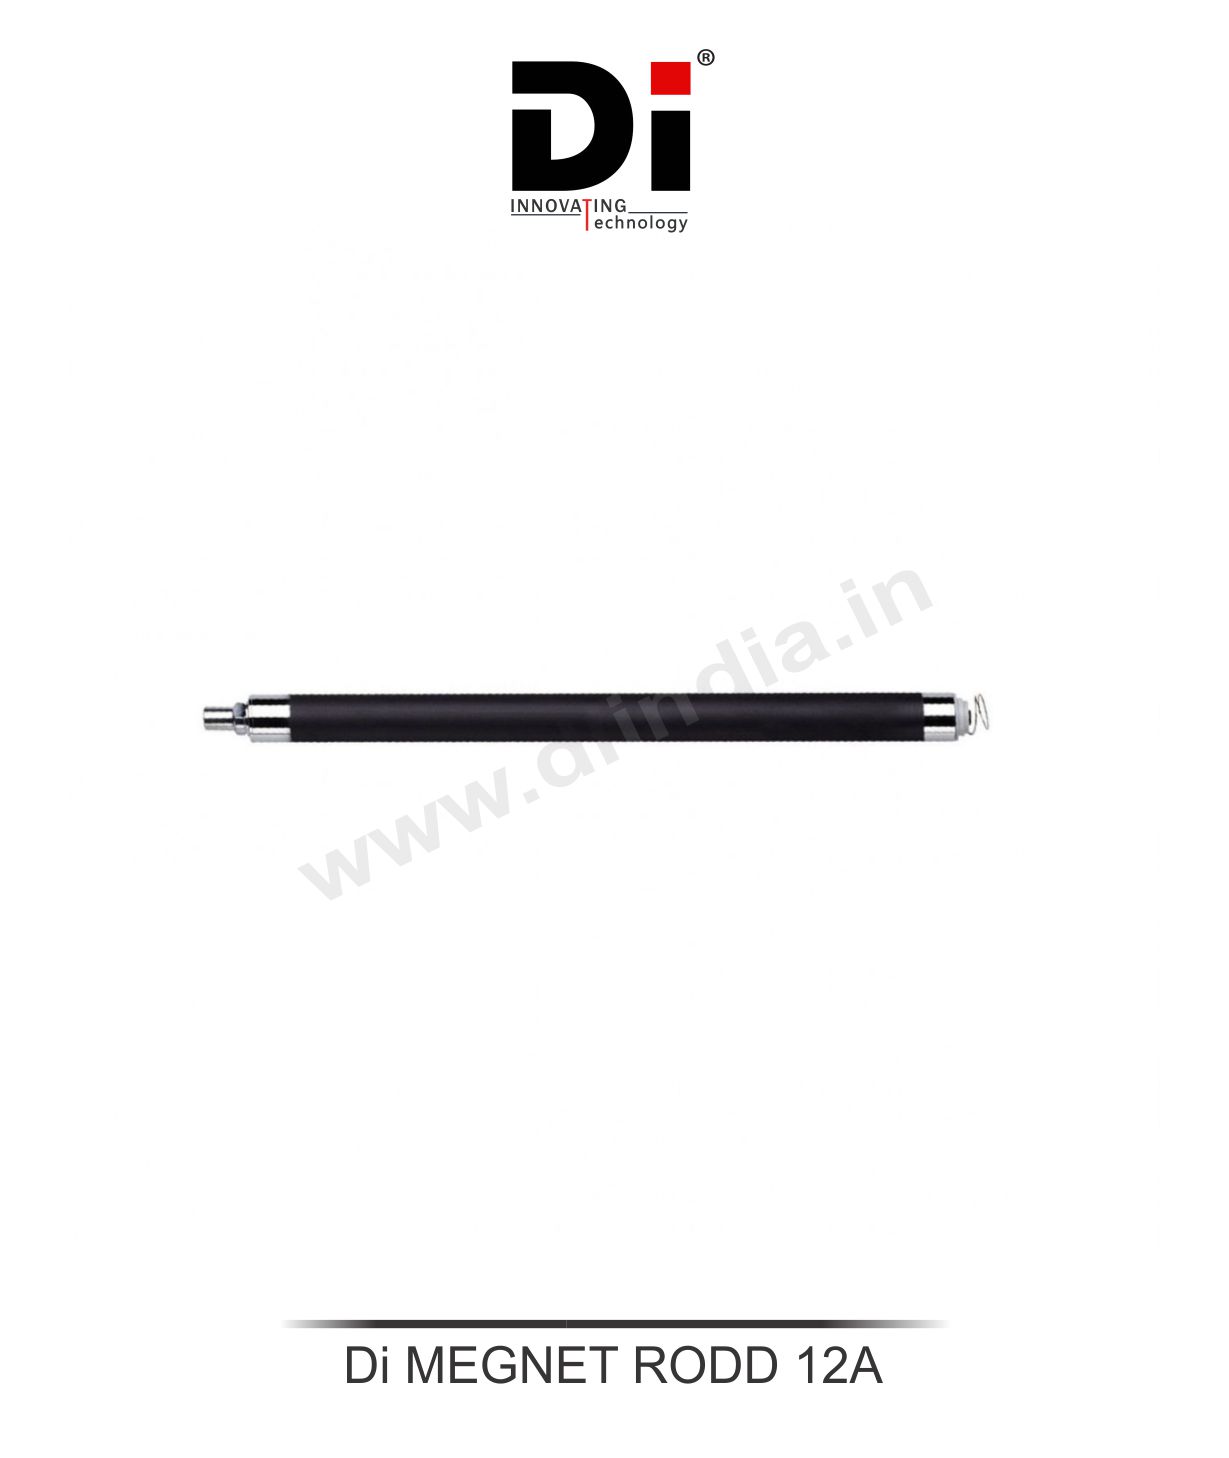
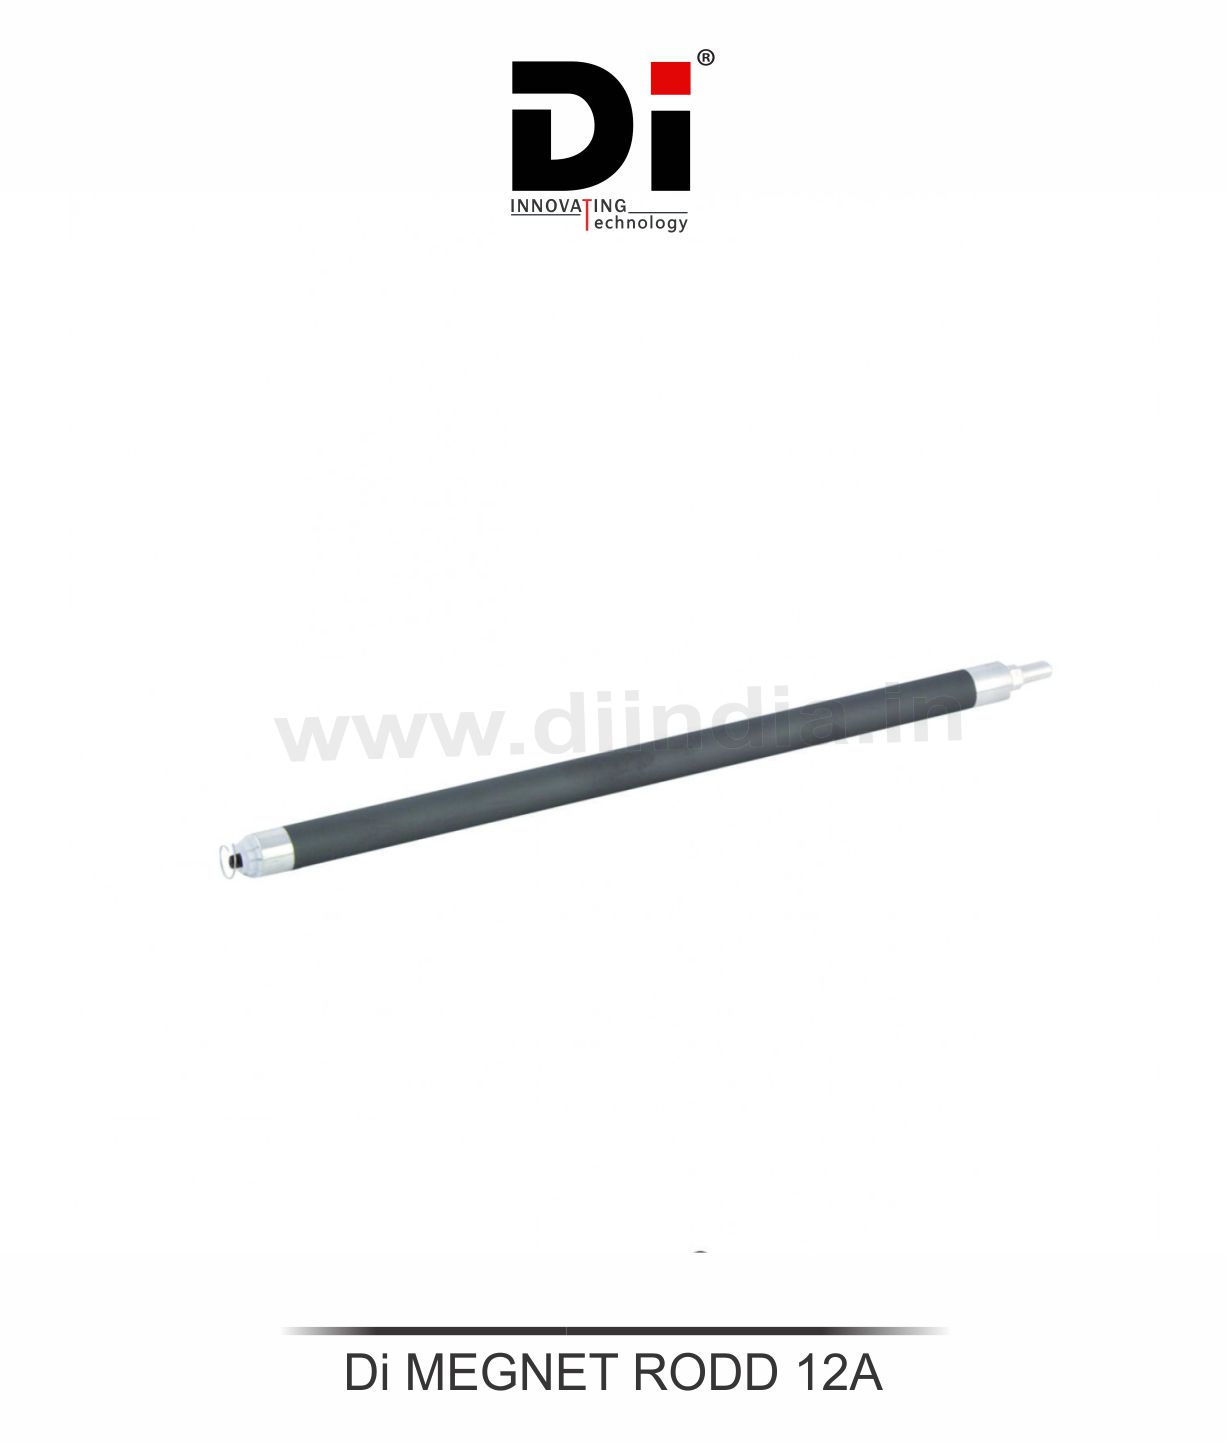
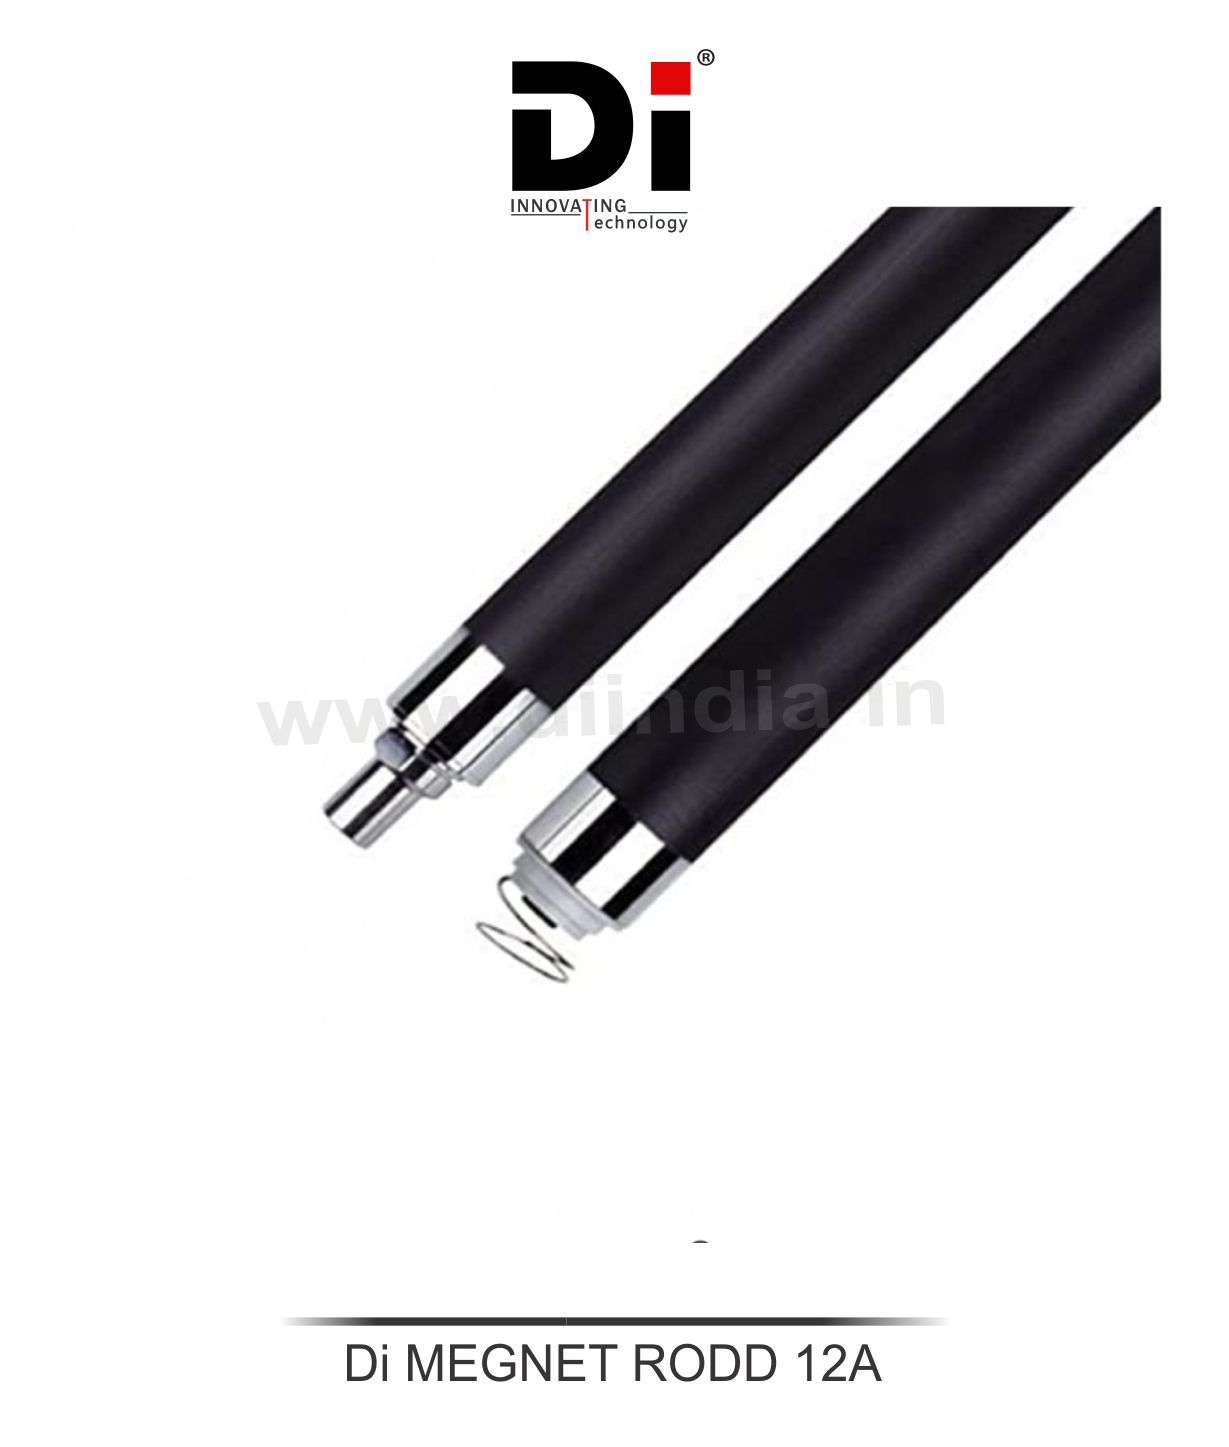
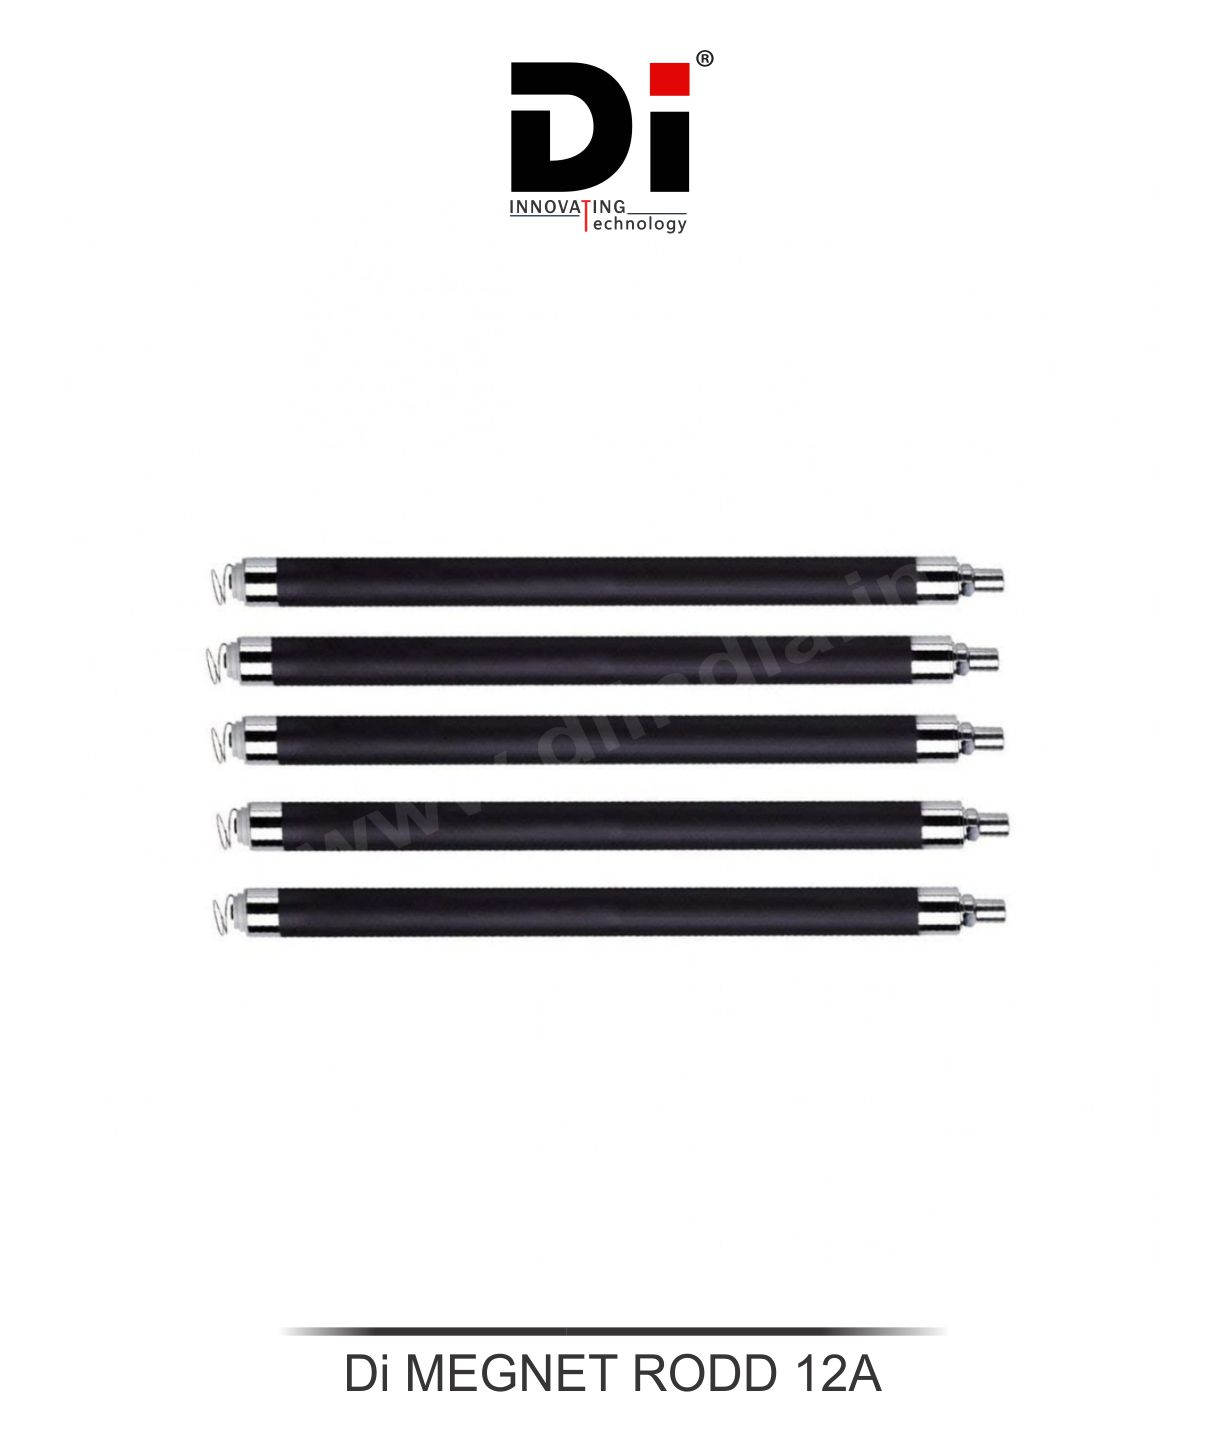
Di MEGNET RODD 12A

Login to View Price (Incl. GST)
dislable

It seems like you're asking about the Magnet Rod for the HP 12A toner cartridge (model Q2612A). The magnet rod is an important internal part of the toner cartridge, and it plays a crucial role in the toner distribution and transfer process within the cartridge.

Purpose of the Magnet Rod in HP 12A:

The magnet rod in the HP 12A toner cartridge is part of the mechanism that helps in the distribution of toner onto the developer roller. It contains a magnet that helps guide and mix the toner, ensuring that it is correctly dispensed and applied to the drum during the printing process.

  • Toner Distribution: The magnet rod helps move toner particles to the developer roller, which in turn applies the toner to the drum for transfer to the paper.
  • Even Toner Transfer: The rod plays a key role in ensuring the toner is distributed evenly inside the cartridge, which is important for high-quality printouts without streaking or fading.
  • Alignment of Components: The magnet rod helps align internal components inside the toner cartridge, ensuring smooth operation and proper interaction between the cartridge's parts.
Product ID:

It seems like you're asking about the Magnet Rod for the HP 12A toner cartridge (model Q2612A). The magnet rod is an important internal part of the toner cartridge, and it plays a crucial role in the toner distribution and transfer process within the cartridge.

Purpose of the Magnet Rod in HP 12A:

The magnet rod in the HP 12A toner cartridge is part of the mechanism that helps in the distribution of toner onto the developer roller. It contains a magnet that helps guide and mix the toner, ensuring that it is correctly dispensed and applied to the drum during the printing process.

  • Toner Distribution: The magnet rod helps move toner particles to the developer roller, which in turn applies the toner to the drum for transfer to the paper.
  • Even Toner Transfer: The rod plays a key role in ensuring the toner is distributed evenly inside the cartridge, which is important for high-quality printouts without streaking or fading.
  • Alignment of Components: The magnet rod helps align internal components inside the toner cartridge, ensuring smooth operation and proper interaction between the cartridge's parts.

Symptoms of a Faulty Magnet Rod:

If the magnet rod in your HP 12A toner cartridge is damaged or malfunctioning, you might notice the following issues:

  • Poor Print Quality: The toner may not be applied evenly to the drum, leading to streaky, faded, or incomplete prints.
  • Toner Leaks: If the magnet rod is malfunctioning, it can cause toner to spill inside the cartridge, leading to possible leaks.
  • Frequent Jams or Misfeeds: Misalignment or improper toner transfer can cause paper jams or multiple sheets of paper to be fed at once.
  • Cartridge Errors: Your printer may display error messages related to the toner cartridge, such as misalignment or malfunction.

Replacing the Magnet Rod in the HP 12A Toner Cartridge:

If you need to replace the magnet rod in the HP 12A toner cartridge, here are the general steps:

  1. Turn Off the Printer: Ensure the printer is powered off and unplugged to avoid any electrical hazards.

  2. Remove the Toner Cartridge: Open the printer and remove the HP 12A toner cartridge.

  3. Disassemble the Toner Cartridge (if needed): Depending on the design of the cartridge, you may need to carefully open the toner cartridge to access the magnet rod. This may involve removing screws or clips.

  4. Remove the Old Magnet Rod: Carefully remove the damaged or worn-out magnet rod from its position inside the toner cartridge.

  5. Install the New Magnet Rod: Place the new magnet rod in the same position as the old one, ensuring it aligns correctly with the developer roller and other components.

  6. Reassemble the Toner Cartridge: Once the magnet rod is installed, reassemble the toner cartridge by securing any parts you may have removed.

  7. Reinstall the Cartridge: Place the reassembled toner cartridge back into the printer.

  8. Test the Printer: Power the printer back on and run a test print to ensure the new magnet rod is working properly and that print quality has been restored.

Add A Review

Your email address will not be published. Required fields are marked

Your Rating *

You need to Login OR Register

Overall Ratting:- 0

Based on 0 Comments